Search

Showing posts with label crafts. Show all posts

Sunday, June 8, 2014

Moon and Star Cushion cover

A couple of months ago, I made my first quilt block using foundation piecing method. I made a Sun block and a cushion cover with it. Read more about of it here.


That cushion was getting very lonely and so I made a Moon and star cushion using the same technique. Now my sun pillow has friends! ;)

I hunted online for moon and star patterns. Star pattern was easy one to get I used it and lo, got my star!

Now for the moon! It was a futile attempt to get an easy free moon pattern online! Then I thought how difficult can it be! (Of course it was difficult!) But I was determined to do it myself. And below is the pattern I came up with... It may not work for you; you may try at your own risk!

I added a border and some lace trim to frame the corners!

 I love the look! What say! :)

Saturday, June 7, 2014

Another Quick Blankie

Remember my earlier post about buying a quilted fabric and attaching borders??? 

Well, this is one is similar too... but I used fleece instead of quilted fabric... 

To get a clean edge, I folded 1/4 inch of the edge, wrong sides together and stitched it. Then place the ribbon on the edge to hide the raw stitched edge. 


This gave it a nice finish! 
Quick and easy, my blankie was ready! :)


Thursday, January 2, 2014

First Zipper :)

Phew! One more step conquered.
I have never felt comfortable with sewing zippers; but now I am!

Materials Used:

  1. Outer Fabric - 2 pieces - 10" X 5"
  2. Inner Fabric -  1 piece  - 10" X 9"
  3. Zipper - 11" length

Place the inner fabric right-side up, zipper right-side down & outer fabric right-side up.

Stitch the edge.

Take the other piece of outer fabric. Sandwich the other edge of zipper between the outer fabric and other edge of inner fabric.

Stitch the edge. Whenever the zipper pull comes in the way, gently unzip the zipper so that the zipper pull will be away from the part of the edge that is being stitched.

Now the fabric is attached to the zipper.


Place the long edges of the outer fabric together, with right sides facing each other. Stitch the edge.

Now consider one of the shorter side. Place the right sides together and stitch the edge.
 
Now stitch the other edge. Ensure that there is a small opening left to turn the purse right side out.


Now with the help of the opening, turn the purse right side out. Then close the opening with hem stitch. Push the lining into the pouch.

Now the pouch is ready for V's swimming goggles! :)
Happy New Year!

Wednesday, November 6, 2013

Less than Traditional...

My first visit to a Quilt festival happened in September... I was so excited... I did not know what to expect... But wanted to attend at least a couple of free classes/sessions there...

This festival happened in the Fairgrounds, Pleasanton. It was Quilt, Craft and Sewing festival... I enjoyed looking at all those fabulous quilts, bought a couple of yards of fabric and signed up for the raffle prize. :)

Got a chance to learn a new technique in quilting called "Less than Traditional". This was a quilting technique invented by a person named Charlie. Click here to know more.

As soon as I got back home, I rushed to try out this technique. The results are here... :)


Monday, November 4, 2013

Couple of pillow covers

One yard of printed fabric and a couple of matching fat quarters... Result is a couple pillow covers...

A coordinated pair but not a duplicate...


Sunday, November 3, 2013

Grocery Bag Holder

Picked a cardboard box with an opening at the bottom. 

Glued pieces of fabric to a cardboard box. Pushed grocery bags from the top and they can be pushed from the bottom. Placed some toys on the top of the box to hid the grocery bags.

Tuesday, October 8, 2013

October 8th

Phew! The parcel reached them on their day. It was the one to witness their smiles while they unpacked it. Two little pouches for my two little sisters!

Wish you a very Happy Birthday my darling sisters! 
All the while I made these, I was imagining their faces when they would open the package to see these pouches... It is indeed a pleasure to make our loved ones happy! :)

All sewed with love and care...

I cut all the pieces using my Sizzix bigshot machine. The pouch body is fleece and the flowers in felt. The star button to add beauty to the flower.

Stitched a couple of button holes and passed the grosgrain ribbon through it, then tied it into a bow.

Simple, yet beautiful... Just like my sisters! :)

What started out as a cell phone pouch... ended as a pouch to be used for saving trinkets! But what's important is it reached them on their birthday... Thank you USPS!

Saturday, September 14, 2013

Strippy Spools contd..

As I said in my earlier post, I cannot get my eyes off this wall hanging... 

A more clear view of the strippy block...

Ain't it beautiful? :)

Monday, September 9, 2013

Thoranam

Using Sizzix : Sizzlits Die Set 3PK - PAISLEY SET, I tried to make a thoranam(threshold hanging) for our kitchen threshold.

Used two different shades of paper. Pasted one pattern on the other to get each leaf. 


This was for the Vinayaka Chaturti. Happy Vinayaka Chaturti!


Friday, April 26, 2013

Daisies - Wall Hanging

Finally completed this wall hanging... This one had been hanging in my closet, half-finished for almost a year... As they say: "Every dog has its day", today's the day of this quilt! :-)


I appliquéd some daisies to squares of green fabric and assembled them together to form this colourful quilt.

I added some leaves as well...


The petals of some of the flowers are missing.. 
as though they have been eaten by caterpillar or bugs.. :-)

I love the way it has turned out.

Tuesday, March 5, 2013

A cover for our Kindle

Did I tell you we bought a new Kindle paperwhite recently? We love it! I downloaded a lot of free classics from Amazon; my first one being "Secret Adversary" by Agatha Christie. It is the first novel of the Tommy-Tuppence series. They are not married yet in this novel. I enjoyed reading it on my kindle. :)

It was time to make a cover for our kindle; and I finally completed making it.

Doesn't it look pretty? Here's how it looks from the inside.


How did I make it? Well here is the list of stuff I used:
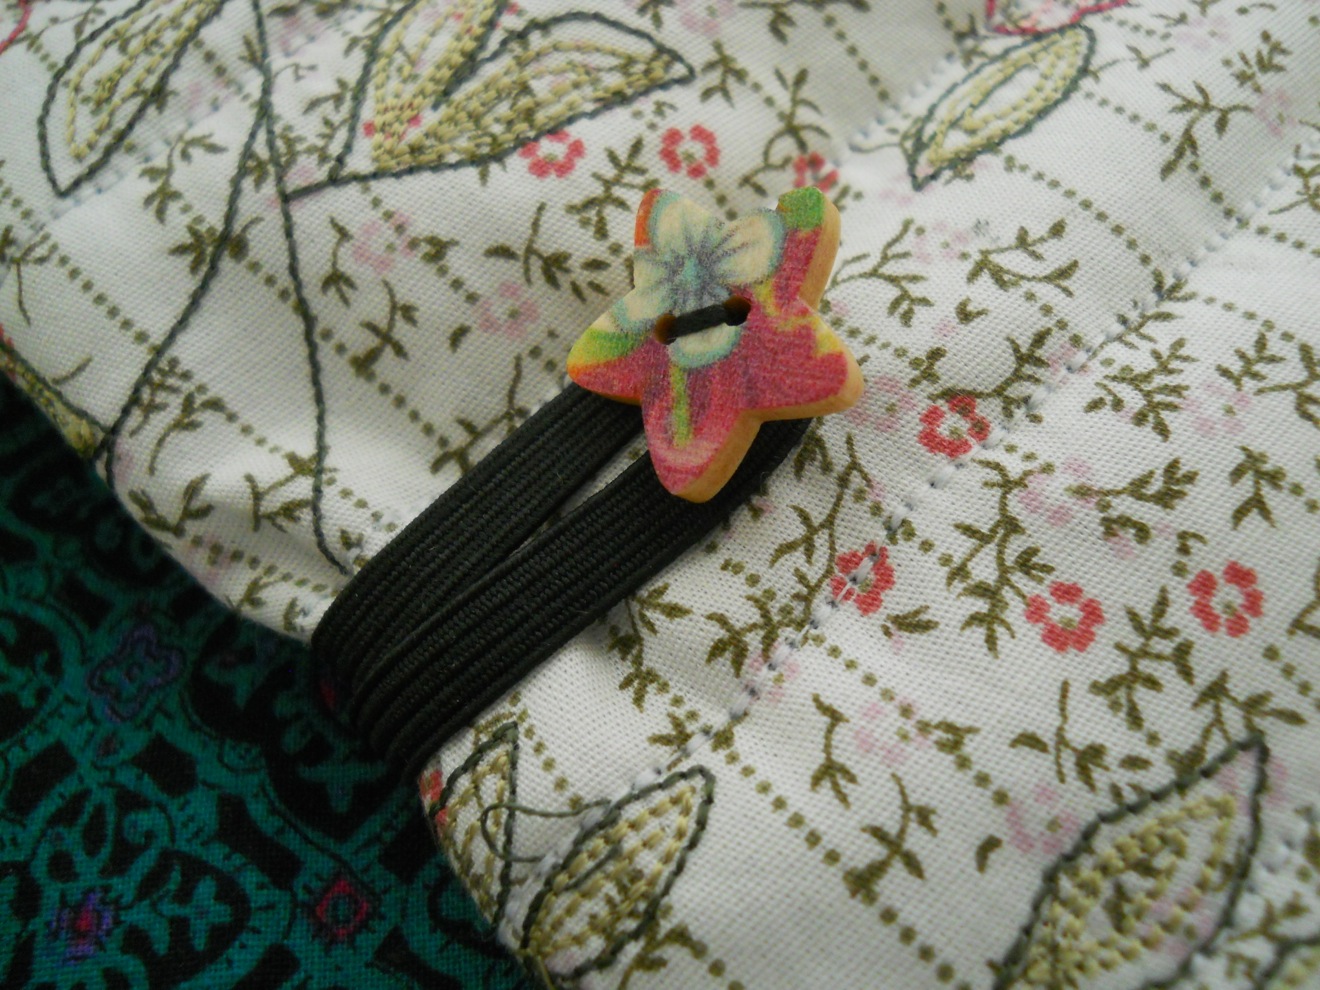
  1. Two inch elastic and one button for the closure
  2. Outside fabric - 21.5" X 5.75" piece and 8" X 5.75" piece (white and pink floral print)
  3. Inside fabric - 14" X 5.75" piece (blue and green plaid flannel)
  4. Batting - 22" X 6"
  5. 2-inch bias cut of the fabric around 60" length


First joined the 14" X 5.75" plaid fabric with the 8" X 5.75" floral print to make a 21.5" X 5.75" piece.

Then prepared the quilt sandwich as shown below: the outside fabric, then batting and then the inside fabric (plaid plus floral print joined piece)

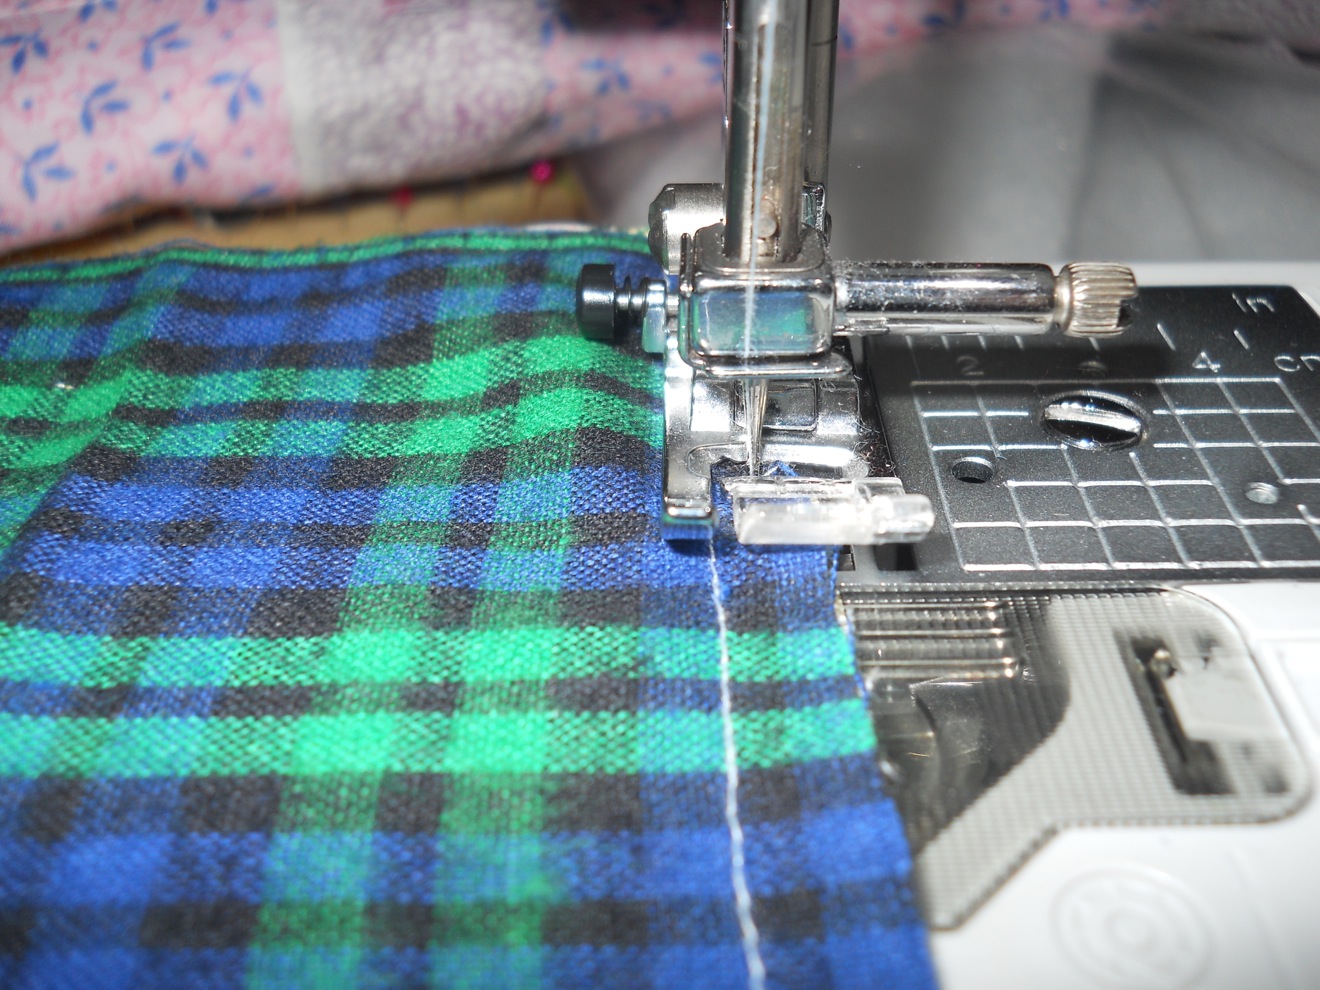
I quilted the pieces together. We can use pins to hold the layers together.

The batting is a little larger than the fabric pieces. This may be helpful while sewing the layers together. Even if the inner fabric gets pulled a little it is okay as it will not be seen from outside. This fabric will be  at the inner side of the pocket that holds the kindle.

Trim the extra batting on all sides and use the 2-inch bias tape for binding the piece.

Now it is time for the button and the loop.

I hand-stitched them onto the cover.


Hmm... Can't take my eyes off this new cover!! :)