Search

Tuesday, March 13, 2012

Phew! The quilt is done!

After my "Trip Around the World"(not an actual trip around the world... but I am referring to my quilt here... :D),  I immediately started on another quilt. This time I wanted to do a bigger quilt with lot of half-square triangles. As the arm of my sewing machine is short and I cannot imagine hand-stitching the whole quilt, I decided I would make the quilt piece by piece. I read up a book on lap quilting and thought it was the perfect thing to do.


The instructions in the website are very clear and I loved the pattern. I made all the blocks in a weekend. Now came the task of joining all three layers together, piece by piece. My oh my! The quilt felt so heavy to move it on my sewing machine. 

Meanwhile there were so many other projects in the pipeline. When I would get time to sew, I would prefer take up a new project rather than work on the quilt. This went on and on until I could not bear to look at the half-finished quilt. I had to finish it and get going with other things! And phew! It got done! :-)


Want a peek inside? Here! ;-)

Shall we see some more of the quilt? ;-)

I know... I know... I must be irritating you with my silly jokes... Here it is... The complete quilt that was attached piece by piece...


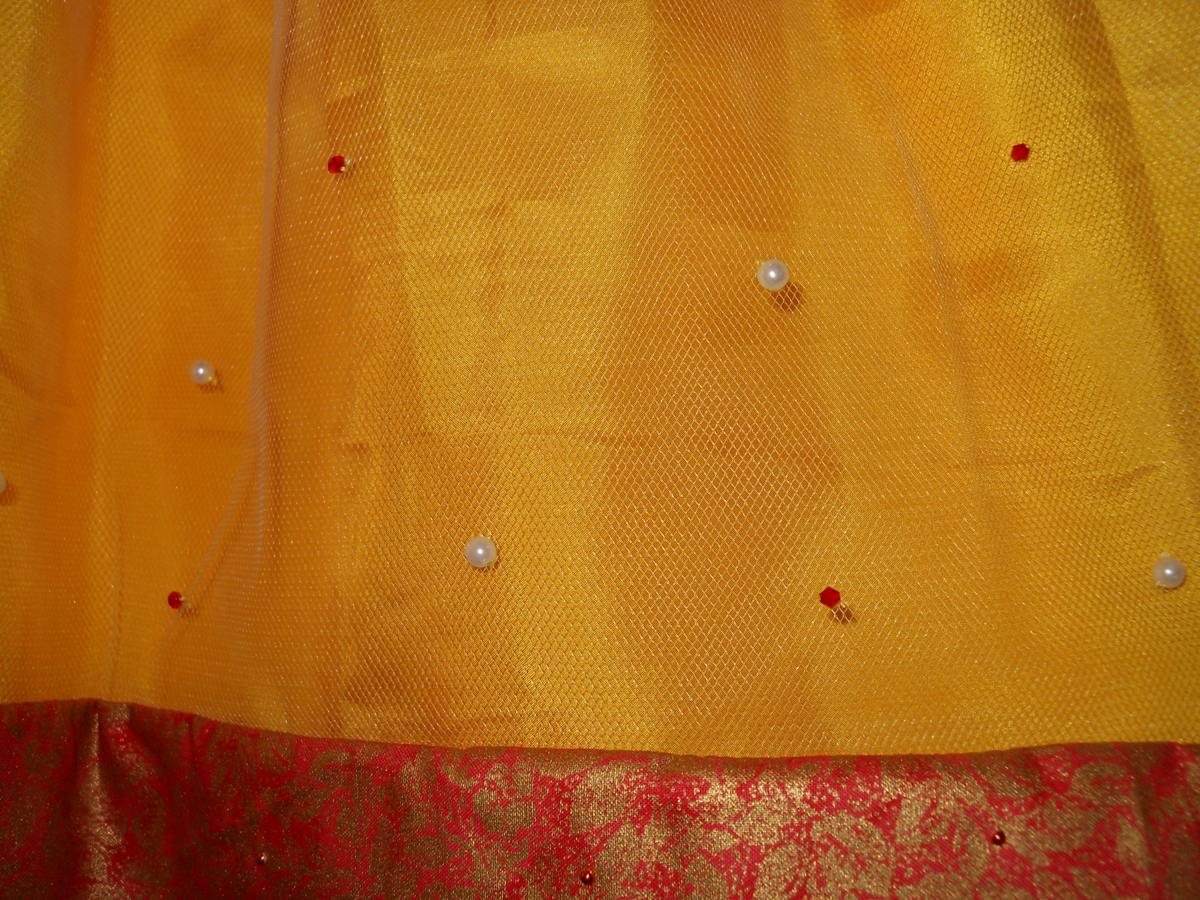
Here are some close up snaps too!


Like it? Oh I love it! I know it is not perfect. At some places, some valleys were formed where the batting got stretched a little. But I am quite relieved to complete this. It gives me more time to do new things... like a fabric tote... more about it in coming posts! :-)

Saturday, March 10, 2012

Good Old Days - Hand Writing

I recall those school days when we had cursive writing books and a special period/class for cursive handwriting. The cursive handwriting books had four-ruled pages. The first line in every page was a sentence printed in cursive writing. We tried our best to copy the hand-writing onto every line of that page. Some of us would write all the first words first throughout the page, then write the second words and so on... Some others would write sentence by sentence. We had extra marks/points for good handwriting.

I love cursive writing because it looks so beautiful and we can write the entire word.. almost... without lifting the pen/pencil off the paper. 

We would compare hand-writings and try to infer what it tells about the personality of the writer. For example, very large writing means the person needs attention and very  small handwriting means the person lacks self-confidence or may suffer from inferiority complex. Then, we would also observe the slants of writing. Some people have letters slanting to the right, which means they are excited about their future. The handwriting with letters slanting to the left means the person is caught in the past. An upright handwriting does not reveal any such quality! 

If a person wrote their "I"s always in lowercase like 'i like reading' instead of 'I like reading', the person lacks self-confidence. There were lot of other things we noticed like... using a small circle instead of dot on top of i's and j's... having large word to word spacing... or having narrower words... I don't remember what those mean though...

All this handwriting analysis may not be true at all; but it was a fun way to spend time and it was as interesting as reading people's palms. We do not know anything about palmistry, but as children we wanted to show off that we knew a lot of things... You know what I mean! :-)

We would also observe each others' signatures. The more illegible the signature is, the more the person is hiding his/her true nature. A person whose signature bears close resemblance to their name indicates that the person is honest. That's what we thought! Those were the days when we were still trying out new signatures and evaluating which one we wanted to use for the rest of our lives! :-)

This morning when I started writing... I mean actual writing on a paper... I realized how ugly my handwriting has become... It was more like a scribble... 


These computers have spoiled us so much that we hardly have any need to use pen and paper except for jotting down our shopping list... I don't even know if I will understand what I have written... It is so bad... My n's and m's are similar... The first few letters of the word are legible but the rest is like a running trail of thread... It's like I am in a rush to complete the word... the sentence... Oh my God! I cannot believe myself that I could forget how to write! I am thinking of practising to write. It may sound silly. But I should do it. I do not want anyone to see me write like this!!!

Thursday, March 8, 2012

To-Do list

Sometimes I feel overwhelmed by the pending items list... Not that I have one... I mean I do have a mental-list but I do not put that down on paper... The things I have to buy.. Things I need to sew... Things I need to make... The cleaning stuff I need to do at home...  The book need to read... The courtesy calls I need to make... The letters/emails I need to write... The list goes on and on...

And when I am working on one thing, I get so many thoughts about the other items on my to-do list. I stop what I am doing and start working on another pending item... And while I am on it, I remember I have something else to complete... This goes on and on till the day wears out or I quit exhausted!

Most of my weekends are spent like this... It is just so exhausting! I wish I was more efficient in managing my time or had more hours in the day!

Monday, March 5, 2012

Mesh Organizer

Our grocery (the one we go to) sells oranges and lemons in mesh bags. I wanted to find a way to reuse this mesh material... And the perfect way to do that was to make a mesh organizer for our closet. 

I used the same pattern as that of the shoes-holder. The only difference is I used some batting for the backing of the mesh organizer. I used a decorative stitch (curvy stitch) for basting the fabric with the batting.

I used the mesh material for the pockets.

I glued a bird cutout from some scrap fabric onto the mesh pocket.

I am using this mesh organizer for our socks and gloves. I have hung it on the inside of our closet door.


Phew! Another pending item is off my list now! :-)

Thursday, February 23, 2012

Craftsy

I am lucky to have chanced upon this website (http://www.craftsy.com).  This is a place where creative people share their crafts, patterns and tutorials. They also have free online courses. I became a member a couple of weeks ago and already have 4 followers! :) It feels good when others appreciate our creativity! :)

I have joined their Quilt block of the month course. (It's free!) I love watching the tutorials; I am yet to try them out. You can also join if you are interested!

Tuesday, February 21, 2012

Quilt using Sizzix Die Squares

I am so excited today. I finished a throw for our niece and it came out very beautiful. This is my first project using my Sizzix Bigshot die cutting machine. This is my first patchwork quilt as well! 


This is how it looks from the front.

Here is a close-up shot.
 

The flip side looks like this.


As I have used fleece as backing material, I have not used any batting for this quilt. All the blue and white squares were part of an unused T-shirt. I cut the squares using Sizzix Bigshot machine with Scallop Square Die. Click below for full tutorial...

Friday, February 17, 2012

Good Old Days - Paavadai

During all our childhood festival days, we were made to wear paavadai preferably pattu(silk) ones. A paavadai is a South Indian traditional dress. It is an ankle length flowing skirt usually in silk with border at the hemline. 

We would twirl around in them. Sometimes, when we twirled and sat, the paavadai would be all puffed up with air and it felt like we were popping out of a balloon!!

Recently, I got a chance to make a paavadai for my friend's daughter for her birthday. Oooohh!!! It brought back all my childhood memories. Here are some pictures of the paavadai. I was so excited that I took a lot of them! :)

I embellished the paavadai with some pearls and crystal beads

I hot ironed some rhinestuds to the border. The paavadai is made of two layers. The outer layer is of mesh fabric and the inner layer is of yellow silk.

The chokka (blouse) matches with the border of the paavadai. I hot ironed rhinestuds on the chokka.

The chokka has puffed sleeves.

I love it! Wish I could go back to my childhood days and wear this one! ;-)

I hope the birthday baby likes it too! :-)

Sunday, February 12, 2012

Fabric Box/Liner Making - Simpler Way

Remember the last time I tried making Fabric boxes? Making one box took most of my Sunday afternoon. I badly needed a simpler and faster way to make them. Why this obsession with fabric boxes? I really don't know. I need them for storing my fabric, yarn and other craft stuff.

This is more a fabric liner than a fabric box. 

Time to jump right into the tutorial...

I took a 12 X 14 X 8 cardboard box

Placed it on a fabric to cut the bottom rectangle. The bottom fabric should measure  one inch more than the bottom of the box. For me, I took a 13 X 15 fabric rectangle.

For making the sides of the box, take a strip of cloth 5 inches more than the height of the box. I took 13 inch strip of fabric of length 54 inches . The length of the strip should be 2(LENGTH + WIDTH + 1) inches

Join fabric strip to the bottom rectangle as shown below (Sorry for the rough sketch)
After stitching, the fabric cover's height will be more than the height of the box. The extra height helps to wrap it over the edges of the box. It fits snugly. I like it!

I glued colourful paper to the cardboard box and then covered the insides of the box with the fabric liner.

These are so quick to make and I can always toss the liner in the washer if it becomes dirty. They are re-usable too! I love them! :)